
Hey guys and welcome to part 6. In the last part we were finally able to view solar systems! But now we have no way to get back to the galaxy view! That is what we will work on today :).
First things first, I made some changes to the code from last time to tidy things up a bit. If you haven’t already seen the change log or downloaded it you can get it from here:
Let’s start with a quick example on how we use the new scripts. Open up the SolarSystem script. In the CreateSolarSystem method, where we create our star object, comment out the code.

Tip: Always comment out code before changing it. That way if the changes don’t work you don’t need to type it all out again.
Now underneath the commented out code we will use the CreateSphereObject method in our SpaceObjects script. Add “SpaceObjects.CreateSphereObject(star.starName, Vector3.zero, this.transform).

Note: If you look in the SpaceObjects script and look at the CreateSphereObject method, you will notice where the transform is passed it equals null. For those of you not familiar with this, this is a way of saying the transform is optional. If no transform is passed it will automatically set the transform as null. You can use this for any type of variable for example you might have a method that is passed an int but the int is a certain number 9/10 times. You can make it equal to that number in the method pass and then you only need to actually pass an int the 1/10 time that number is different.
If you are in anyway confused feel free to comment at the bottom and I will try to help. Now that’s taken care of let’s get back to progressing our game.
So far when we click on a star the view changes and we see a solar system but we cannot get back to the galaxy view unless we stop the game and restart it. A good way to get back to the galaxy view would be to add a button to the scene the user can press to get back to the galaxy.
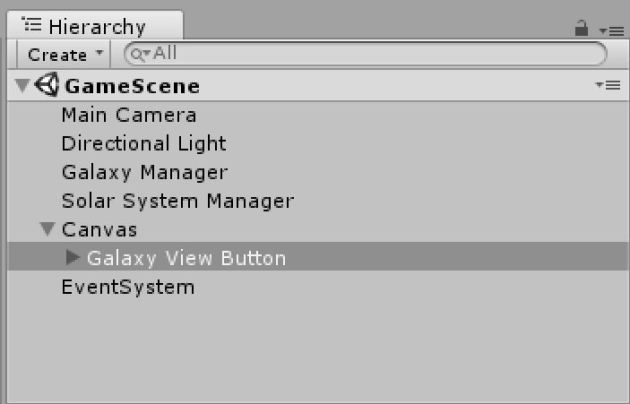
In the hierarchy right click to bring up the menu. Scroll down to UI and add a button (a new canvas will appear automatically as a parent to the button). Rename it Galaxy View Button. At the top of the scene view click the 2D button to make it easier to see and move the Galaxy View Button to the bottom right corner.

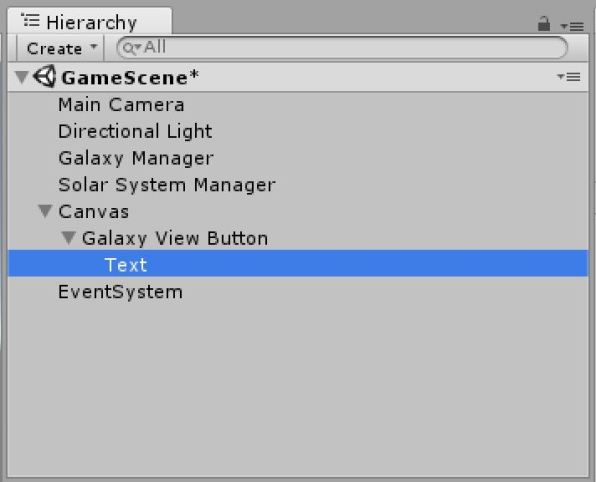
Back in the hierarchy, select the Galaxy View Button’s child (its called Text). In the inspector change the text from “Button” to “Galaxy View”.

Don’t forget to save the scene.
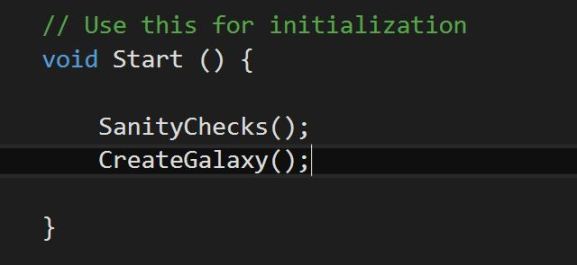
At the moment this button does nothing. Let’s change that. Open up the Galaxy script and add a new public void method called CreateGalaxy. It doesn’t need to be passed anything. Go to the Start method of our script and from where we create a new dictionary for StarToObjectMap until the end of the Start method cut/paste all this code into our new Method.


Don’t forget to call CreateGalaxy in the Start method after SanityChecks!
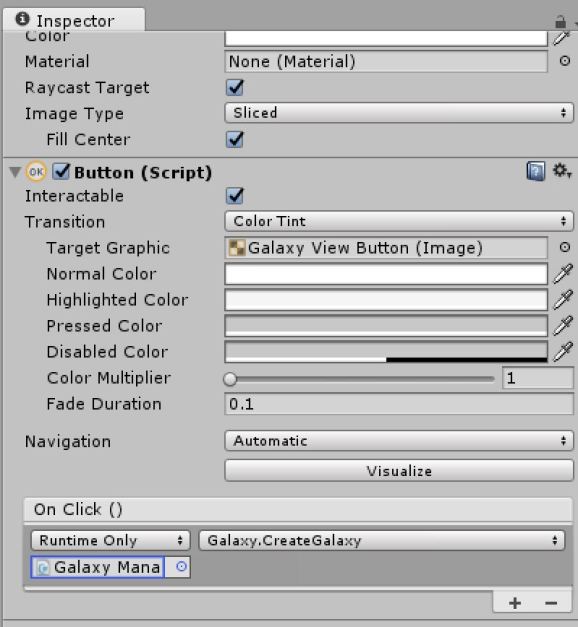
Now we have a method we can call from the button. In the OnClick section of the buttons inspector click the + and add the Galaxy Manager Object. In the function drop down menu select Galaxy and then the CreateGalaxy method.
At the moment the button can be pressed at any time and that can cause multiple copies of the galaxy to spawn. Also, after we have clicked on a star, the solar system hangs around after we return to the galaxy view. We can fix this by adding code to the SolarSystem script.
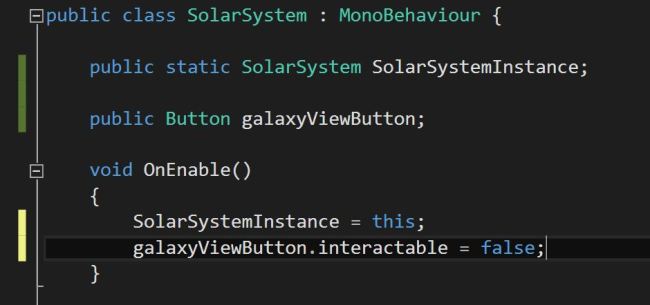
At the top add “using UnityEngine.UI” (this will give us access to the UI functions in Unity). Then after we declare SolarSystemInstance declare a public button and call it galaxyViewButton.

In the OnEnable method add a line using the Selectable.interactable method to make the galaxy button not intractable (unselectable) at the start of the game (while we are on the galaxy view).
Now in CreateSolarSystem use the same method again but this time make it selectable.

Add the Galaxy View Button to the galaxyViewButton spot on the Solar System Manager inspector.

Now we just need to solve the problem of the solar system hanging around.
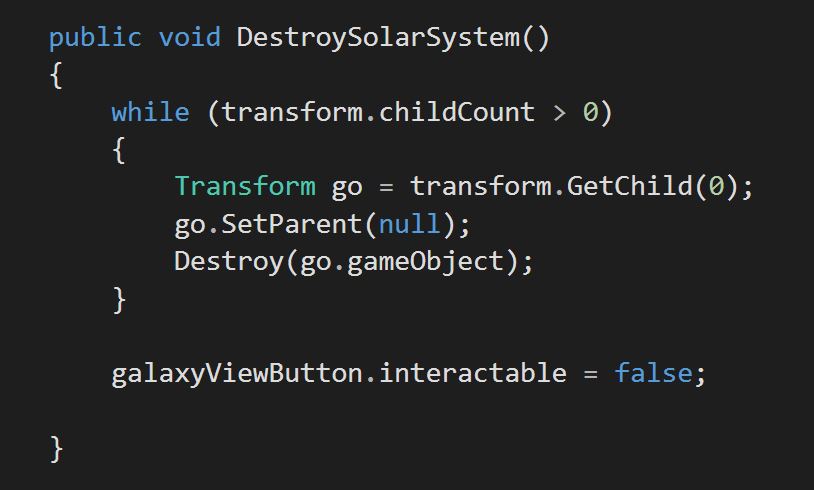
In the SolarSystem script add a new method called DestroySolarSystem. Make it public and void with nothing passed to it.

This is going to be very similar to the DestroyGalaxy method. Add a while loop with the condition while the Solar System Manager has a child. Declare a game object equal to the first child. Make the object parentless and destroy it.

Note: This is the same as the DestroyGalaxy code. Usually I would say this is bad code and we should just make a single method to handle destroying stuff. However I want to keep these separate for now as we will be adding some stuff later which makes these slightly different. I feel the tutorial will be clearer if they are two distinct methods.
After the while loop copy and paste the line we used to make the button unselectable in the OnEnable method to make the button unselectable once more.
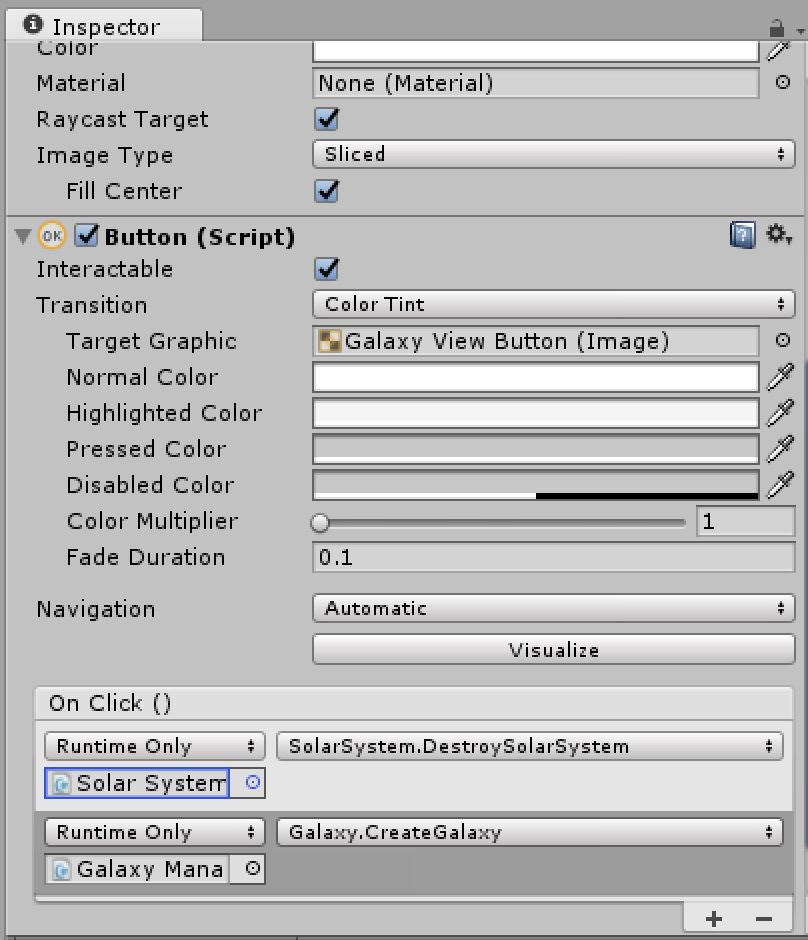
Click on the Galaxy View Button in the hierarchy. In the OnClick section click the + button again to add another function.
Really we want the solar system to be destroyed first so copy the first object and function into the second slot (i.e. Galaxy Manager object and CreateGalaxy function). Then change the top object to Solar System Manager and the function to DestroySolarSystem (under the SolarSystem tab in the drop down menu).
While we have the button selected there’s one last thing I forgot to mention before. At the top of the button inspector under the Rect Transform heading we need to anchor the button to the bottom right corner. Click on the square picture. While holding alt and shift on the keyboard select the bottom right corner.

Save the scene and press play. Now we can click on the star, view the solar system and then return to the galaxy view by hitting the button!
That concludes this part. In the next part we will start working on a camera control system so it is easier to view our galaxy and solar systems!
scripts_for_part_6 (zip file)

I have been following your tutorials to make my own 4x game and they have been great help to motivate me and give me the starting point I needed to work from. I have found them easy to understand and give me a great foundation to tweak to my own design whilst covering things i certainly would have otherwise overlooked.
However with regards to the galaxy view button I am encountering a bug that i have been unable to solve – when the galaxy view button is clicked from certain solar systems the galaxy is generated differently although the seed is still the same. My assumption is that there is a collision detected between a planet and a star so the generation goes differently, but i would assume if the functions are called sequentially this should not be possible.
Through testing i found that if the destroy solar system and generate galaxy are separated into two buttons it seems to always work but when on a single button it consistently breaks leaving certain systems. The bug also occurs if i put the generate galaxy manually at the end of the destroy solar system function in a ln attempt to ensure it follows on linearly.
This may be caused by my own code (i have followed your tutorial up to part 16, when i noticed the bug, but there are a lot of elements where my design differs) and i cannot seem to find a solution, can you suggest any potential fixes?
LikeLike
Hi Infinitea, thanks for the feedback :).
My first suggestion would be to double check the seed number is reset to the set number every time the generate galaxy is called.
If it is being reset then can you email me your code to shadowplaycoding@gmail.com? I can have a look and see if i can come up with an answer. It will be easier to help if i can see the code :).
LikeLike