
Hi guys and welcome to part 16. In the last part we named all our stars using a txt file. This txt contained 300 names which meant we couldn’t have more than 300 stars in our galaxy. In this part we will fix this. It will mean 300 of our stars will have names and the rest will be boringly called Star X where X is a number but at least we can add more. We will also make our name plates follow the angle of the camera.
1. Adding More Stars
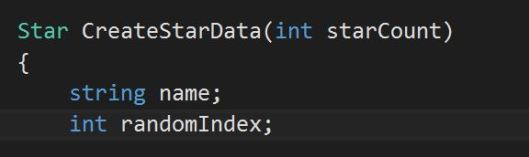
It is a really easy fix to allow us to add more stars. Open the Galaxy script and go to the CreateStarData. Declare a new string called name and randomIndex at the top of the method not assigning them any value.
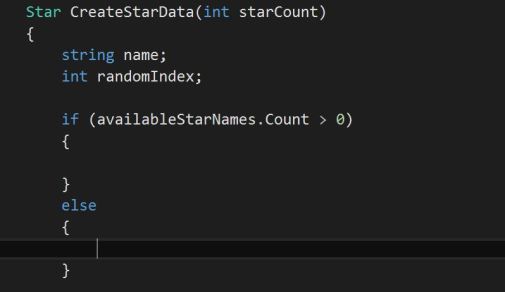
Then add an if statement with the condition if availableStarData has a count greater than 0. Add an else statement afterwards too.
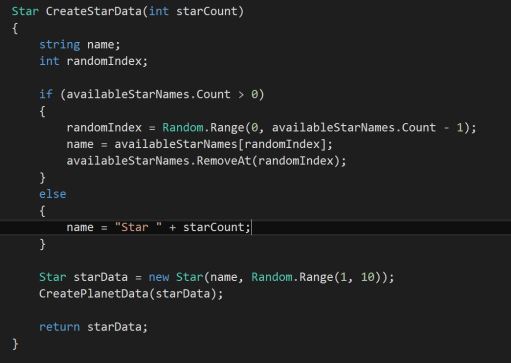
Move setting randomIndex to the if statement and remove the int part. Set name to the string at availableStarNames’ index randomIndex. Finally, move the line where we remove the string from the list to here.

In the else statement make name equal to “Star ” + starCount. Also, where we create starData sub in name to where we pass the starName.
Now we can add more stars to our game without an error occurring :).
2. Rotating the Name Plates
So how do we get the names to face the camera? We use the Transform.LookAt function. However, it is a little bit more complex than that because as you will see the LookAt function doesn’t quite work the way we want it to. We also need to consider the fact we need to update all 300 name plates constantly to face the camera. 300 Update methods uses a lot of resources so let us consider only having one update method monitoring where the camera goes instead. For this we will be adding a new object to our scene.
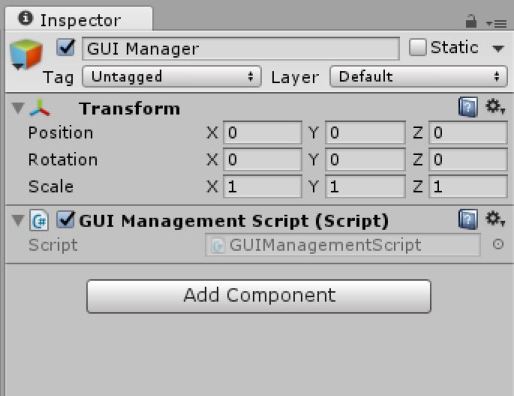
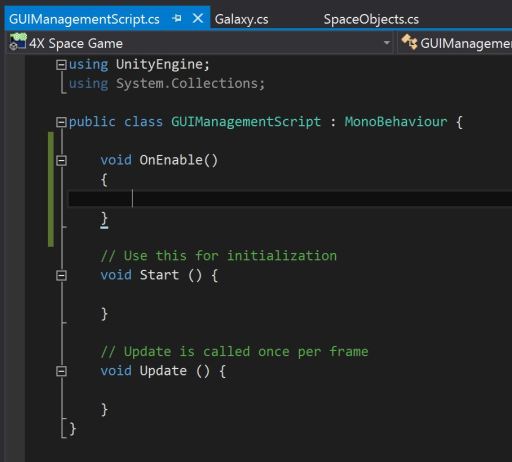
In Unity add a new empty object called GUI Manager. Attach a new script to it called GUIManagementScript and add an OnEnable method to the script. Leave the Start and Update methods for now.
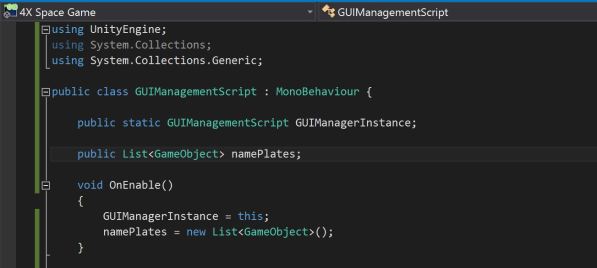
We will only have one of these objects in our game so we will create an instance of it much like we did with our Galaxy Manager and Solar System Manager objects. Declare a new public static GUIManagementScript called GUIManagerInstance. In the OnEnable method set it equal to this.

Add “using System.Collections.Generic” to the top of the script and declare a new public List of type GameObject. Call this list namePlates. Set it to a new List in the OnEnable method.
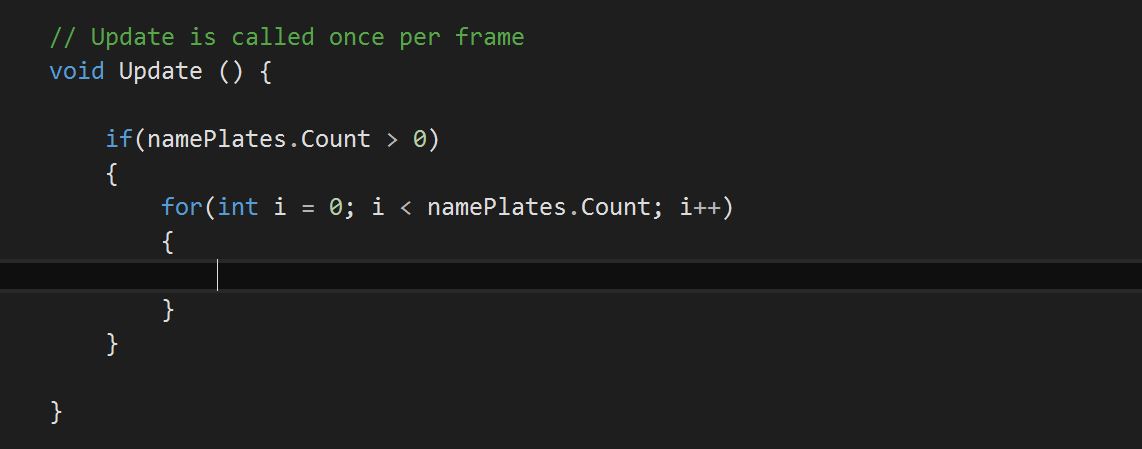
Now in the Update method add an if statement with the condition if namePlates has a Count greater than 0. Inside that add a for loop with the limit of namePlates‘ Count.
Note: We want to cycle through all the GameObjects in namePlates and make them look at the camera. This is going to be a very expensive script (i.e. it will take up a lot of time/CPU relatively speaking). However, because we don’t have many things going on in our game yet, it’ll work… for now. In later tutorials when we come to improve the efficiency we will look at ways of making this script a lot more efficient. Like everything in this tutorial series I just want to get things to work before improving them later on.
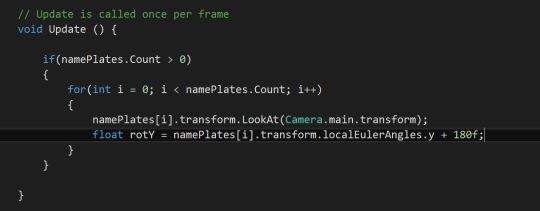
Use i as the index in the namePlates list and set the rotation of the object to look at the camera (see the picture below for help).

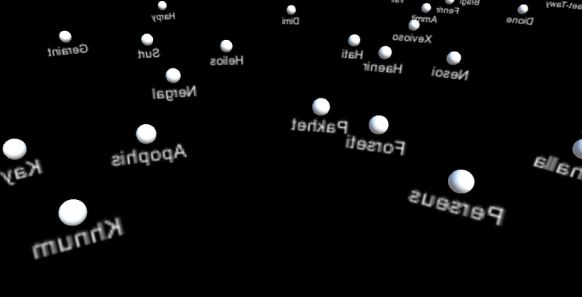
Press play. That’s not right, all the names are backwards! This is not what we want. We need to rotate the name plates by 180 degrees around the Y axis.
But how do we do that? After we make the GameObject look at the camera declare a new float called rotY and set it equal to the GameObject’s localEulerAngles.y plus 180.
Now all we do is set the localEulerAngles of the GameObject to equal a new Vector3. For the X componant we use the negative current localEulerAngles.X. We also do this for Z (except we use localEulerAngles.z). For Y we use our rotY we just calculated.
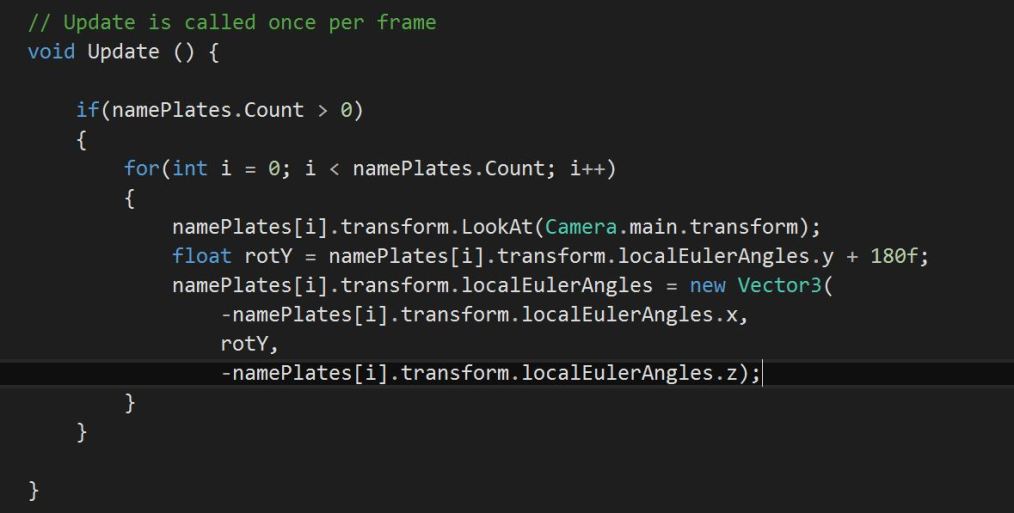
Note: Notice how I have separated the values in the Vector3 on separate lines. This is a perfectly acceptable way of doing things and is good practice if the line of code you are writing is wider than the viewable area in your coding program. It makes it easier for others and yourself to read your code.
Press play. Pan the camera around and zoom in and out. All the text should now be facing the camera :).

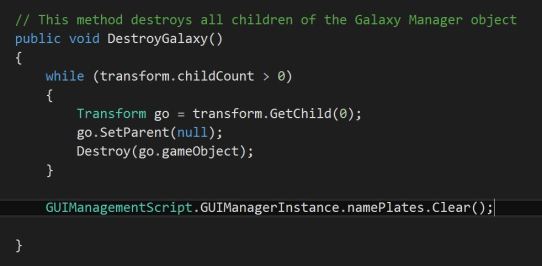
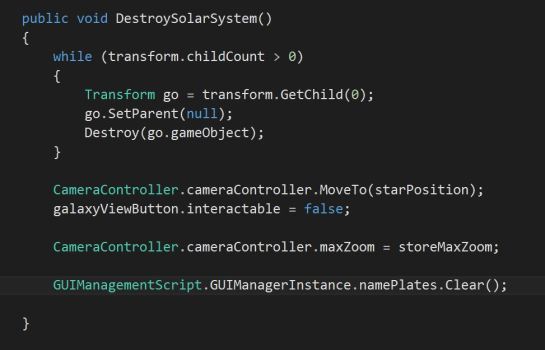
There’s just one more thing we need to do. At the moment namePlates will just keep getting bigger and bigger every time we exit and enter the galaxy and solar system views. For this reason we need to clear the list when that happens. To do this we just add a single line of code to our DestroyGalaxy and DestroySolarSystem methods (in Galaxy and Solar System respectively). This line of code uses the Clear function for a List. See the pictures below.
Now namePlates will never grow to be bigger than the number of stars in our galaxy :). That concludes this part. In the next part we will take a break from the galaxy and solar system set up and start to look at how we add ships to our game :).
Scripts_for_part_16 (zip file)
_________________________________________________________________

I have followed this exactly and even copied your scripts over directly with copy paste just to make sure, but when I press play the names of stars all appear right, like from the name list. But when I click on a star to enter solar system view and then hit the galaxy view button to go back, all the stars are named “star 243” or something of the like. It reverts back to what they were called before adding the name list. Is this supposed to happen at this point? Anything to fix it? Thank you
LikeLike
Hi Gamerbot, if you can send me your code to shadowplaycoding@gmail.com I can have a look. It definitely shouldn’t be doing that
LikeLike
Also can you send a screen shot of the galaxy button onclick so i can see what the button is calling when it is clicked
LikeLike
Thank you, I will do this as soon as I get home. But I did run into another problem with the building ships part. When I go to solar system view and then click on galaxy view, the whole galaxy gets destroyed (all the stars disappear) and all the ships stay as they are. So now I can’t even see the stars to get their names for the issue I had described previously.
LikeLike
I have followed the code, but I am not able to get the nameplates to look at the camera, they still show up, they just don’t face the camera. Anything I can do to fix it? Thanks.
LikeLike
Hi Xlile, Sorry for the late reply. Can you send me your code to shadowplaycoding@gmail.com and I will take a look 🙂
LikeLike
Hi,
Thanks for making this tutorial! It’s been easy to follow so far, and I have had no problems getting my code to work as shown. I hit a snag with Part 16 here, though. My nameplates weren’t rotating correctly, even when I copy and pasted your scripts over mine. After looking through the tutorial and your scripts, I couldn’t find anything that added the namePlates to the namePlates list. I only got it to work after adding:
GUIManagementScript.GUIManagerInstance.namePlates.Add(nameText.gameObject);
to the CreateNamePlate method in the SpaceObjects.cs script, which wasn’t touched in this tutorial.
Is this correct or am I completely blind? XD
LikeLike
You are correct, I have left that out. My bad. Will make a correction this weekend
LikeLike
Ah, okay. Thank you so much for confirming! 😀
I know you said you’re unhappy with the code in the earlier tutorial parts, but I would love to see a finished tutorial; it’s crazy how few 4X programming/coding tutorials there are out there!
LikeLike